EP ElliottPromptsFree guide
A free guide from ElliottPrompts

5 tools you canset up yourself

What each one is, who it is for, and exactly how to start.

@elliottprompts

Elliott, photographed against a dark wall
How to use this guide

Five things to try. Pick one.

You do not need to do them all.

Each tool has the same parts, in the same order.

Start hereThe steps, in order, from the project's own pages.
The promptWords to paste into your AI assistant. Each says who wrote it.
Check before you runWhat to look at first.

What you need

  • An AI coding assistant. Claude Code is one. Most steps are easier when an assistant reads the instructions with you.
  • A GitHub address. A link that starts github.com. Every tool here has one, written out in full so you can type it.
  • Patience. Two of these are downloads you can finish in minutes. One needs several services set up. Go one step at a time.
Read this firstThese are other people's open-source projects. Read the README, and let your AI assistant ask before it installs anything.

Checked against each project's own pages on 17 Nov 2026. Projects change. If a step here differs from what you see, trust the project's page.

Tool 1 of 5
Comment-to-DM

OpenReply

Someone comments a keyword on your Instagram post. OpenReply sends them a private message with your link.

“Someone comments LINK on your reel, and OpenReply queues a DM with your link. That is the whole idea.”From the OpenReply README
“The open-source Manychat alternative”The project's own description on GitHub
Project pagegithub.com/diwenne/openreply

Who it is for

Instagram creators who are happy to set up a few services, or to have an assistant walk them through it. The hardest of the five.

Licence
MIT. Free software. Hosting and email are separate costs.
Made by
Diwen Huang. Started from a project by Anish Raj.
Popularity
3.3k stars on GitHub, as of 17 Nov 2026

What you need first

All listed in the project's setup guide.

Setup guidegithub.com/diwenne/openreply/blob/main/docs/setup.md

Start here

  1. Choose your Instagram connection.Zernio is an optional paid service that skips making your own Meta app. Or use your own Meta app. The README says Zernio is a paid service and a sponsor.
  2. Deploy the app and the worker.Both need PostgreSQL, Redis, a public HTTPS address, and email for sign-in links. There are two processes, always: the web app, and a worker that sends the messages.
  3. Connect your Instagram account in Settings,make a campaign, and test it with a comment from a different account.

The official prompt

Official prompt, word for word

Easiest: open this link and copy it from there.

The prompt, in the project's setup guidegithub.com/diwenne/openreply/blob/main/docs/setup.md#set-it-up-with-an-ai-assistant

Section “Set it up with an AI assistant”, docs/setup.md in the OpenReply project. MIT licence, © Anish Raj and Diwen Huang. Open a copy of the project in your assistant, paste the prompt, and keep real passwords out of files you share. The full prompt is below; scroll inside the box.

You are helping me self-host OpenReply in this repository. Read README.md, docs/setup.md, and docs/zernio.md before changing anything.
My goal: <my own Instagram account, a team workspace, or another use case>.
Work through this order. Ask for decisions or actions only I can supply:
1. Choose the Instagram provider BEFORE asking for Meta secrets or walking me through Meta App Review. Recommend Zernio if I want to avoid creating and reviewing my own Meta app. Clearly disclose that it is an optional PAID service and OpenReply sponsor, that OpenReply remains self-hosted, and that direct Meta is still supported. Explain the feature limits in docs/zernio.md. Ask which provider I want. Do not silently migrate existing accounts.
2. Choose local or hosted. For hosting, the guide uses Vercel for the web app and Railway for the worker, PostgreSQL, and Redis. For local, use Docker Compose and a public HTTPS tunnel. Explain infrastructure costs separately.
3. Configure shared services and secrets. Set up PostgreSQL, Redis, login email delivery, NEXTAUTH_URL, NEXTAUTH_SECRET, CRON_SECRET, and ENCRYPTION_KEY. Keep ENCRYPTION_KEY identical on web and worker. Run Prisma generation and migrations. Never commit credentials or print saved secrets.
4. Run/deploy BOTH processes. Confirm /api/health reports a healthy worker.
5. Connect the chosen provider:
- Zernio: skip all Meta app secrets and own-app review steps. In Settings, have the workspace owner/admin save an unrestricted read/write API key with Inbox access, select an existing profile, and let OpenReply register its webhook. Select an existing Instagram account or use the Zernio connection flow to add one, then import it. Keep campaign automation in OpenReply; do not create a duplicate campaign in Zernio.
- Direct Meta: follow the Meta app section in docs/setup.md. Ask for Meta secrets only on this path. Configure the redirect, webhook, tester roles, and publishing; explain Advanced Access/App Review where required.
6. Test a campaign with keyword TEST. Have a DIFFERENT Instagram account comment on the selected post. Confirm a DM and a SENT row in DM Logs. Diagnose with WebhookEvent, DmLog, OperationalEvent, and /api/health.
Rules:
- Instagram account requirements, messaging windows, permissions, and rate limits apply with either provider. Never promise a policy bypass.
- Do not invent dashboard steps. Ask if a screen differs from the guide.
- Do not put sponsorship or provider branding into customer DMs.
- Keep secrets in trusted secret settings. Rotate anything exposed.
Start by reading the docs, then ask me question 1.

Check before you run

  • Costs. The software is free. Hosting and email services are separate, and Zernio is paid. The prompt asks you to decide.
  • Test on a second account, not your main one.
  • Secrets. Keep passwords and keys in the host's secret settings, never in files you share.
  • Instagram's rules still apply: permissions, message windows and rate limits (README).
Tool 2 of 5
Voice typing

OpenWhispr

Press a key, speak, and your words appear at your cursor, in any app.

“Press a hotkey, speak, and your words appear at your cursor.”From the OpenWhispr README
“The open-source and free alternative to WisprFlow and Granola.”From the OpenWhispr README
Project pagegithub.com/OpenWhispr/openwhispr

Who it is for

Anyone who would rather talk than type. A download for Mac, Windows or Linux. The quickest of the five.

Licence
MIT. The free plan has no limit when the speech model runs on your own computer.
Made by
The OpenWhispr project
Popularity
11.7k stars on GitHub, as of 17 Nov 2026

Start here

  1. Download the latest release for your computer.Mac: .dmg. Windows: .exe. Linux: .AppImage, .deb, .rpm or .tar.gz.
  2. Open the installer and launch it.The first launch walks you through setup.
  3. Choose how it listens:their cloud, your own key, or a model on your computer. The docs recommend a model called Orukeet for local use. It needs no internet after it downloads.
  4. Allow permissions.Microphone. On a Mac, Accessibility (so text can paste) and Screen recording (for meeting audio).
  5. Speak.Press your hotkey (Globe or Fn on a Mac, Ctrl+Win on Windows), talk, press again.
Download pagegithub.com/OpenWhispr/openwhispr/releases/latest

The prompt

Our starter prompt, untested: check each step before you run it
Help me install OpenWhispr on my computer. Read the README at github.com/OpenWhispr/openwhispr and the quickstart at docs.openwhispr.com/quickstart first. Use the downloadable app from the releases page, not a build from source. Ask me which computer I have, explain each step in plain words, and ask me before you install anything.

We looked for an official assistant prompt in the README and docs and found none, so this one is ours.

Check before you run

  • Free plan: their cloud allowance is 2,000 words per rolling 7 days. Local models and your own key are not limited.
  • Intel Macs: live speaker labels are unavailable (README).
  • Permissions: it asks for the microphone, and on a Mac for Accessibility and Screen recording. Allow only what you understand.
Tool 3 of 5
Meeting notes

Meetily

It listens to your meetings, writes a transcript and a summary, and keeps it on your computer.

“Privacy-first AI meeting note taker for Windows, macOS and Linux. Free, open source (MIT).”The project's own description on GitHub
“Open-source alternative to Granola, Otter and Fireflies.”The same description
Project pagegithub.com/Zackriya-Solutions/meetilyDownloads (official builds)github.com/Zackriya-Solutions/meetily/releases

Who it is for

People who take a lot of calls and want notes without sending audio to a service. A download.

Licence
MIT for the free Community Edition. A paid Pro version also exists.
Made by
Zackriya Solutions
Popularity
32.8k stars on GitHub, as of 17 Nov 2026

Start here

  1. Download from the releases page.The README says official builds are only on meetily.ai and that releases page.
  2. Mac (Apple Silicon):open the .dmg, drag Meetily to Applications, open it from there. Windows: run the .exe installer. Linux: the README has a one-line installer.
  3. Pick where summaries come from.The README recommends Ollama (runs on your computer). Claude, Groq, OpenRouter or your own endpoint also work. With a cloud choice, only the transcript text is sent.

The prompt

Our starter prompt, untested: check each step before you run it
Help me install Meetily on my computer. Read the README at github.com/Zackriya-Solutions/meetily first. Tell me whether my computer is supported, then use the official download from the releases page, not a build from source. Explain each step in plain words, and ask me before you install anything.

We looked for an official assistant prompt in the README and docs and found none, so this one is ours.

Check before you run

  • Which computer: the Mac download is for Apple Silicon. Windows needs a CPU with AVX2 (README).
  • Linux: the one-line installer runs a script from the internet. Read it before you run it.
  • Pro is paid. Speaker names are listed under Pro in the README.
  • Recording others: check the rules where you are before you record a call.
Tool 4 of 5
A second brain

The LLM wiki

An idea, not an app: let your AI assistant keep a notebook of everything you read, and keep it tidy.

“A pattern for building personal knowledge bases using LLMs.”Andrej Karpathy, the gist “llm-wiki”
The gistgist.github.com/karpathy/442a6bf555914893e9891c11519de94f

Who it is for

People who read, clip and save a lot, and lose track of it.

Licence
None stated on the gist. So we link to it and do not copy it.
The idea by
Andrej Karpathy
The video by
Nate Herk, 17:46 long

The idea, in our words

Most tools search your files each time you ask a question. This idea is different: your AI assistant writes and updates a set of linked notes as you add sources, so the work builds up instead of starting over.

You choose what goes in and what to ask. The assistant does the filing.
Start here

  1. Read the gist.It says it is “an idea file”, written to be pasted into your own AI assistant. It names three layers: your raw sources, the wiki the assistant writes, and a rules file such as CLAUDE.md.
  2. Watch Nate Herk's walk-through.Chapters include “Setting Up Obsidian & Claude Code” at 5:39 and “Ingesting Your First Article” at 8:35. His description says he sets it up “in about 5 minutes”. The video runs 17:46.
Read the gist yourselfgist.github.com/karpathy/442a6bf555914893e9891c11519de94f
Video thumbnail: the words Knows everything above the Claude and Obsidian icons
“Andrej Karpathy Just 10x’d Everyone’s Claude Code” by Nate Herk | AI Automation, YouTube. 739K views as of 17 Nov 2026.
Watch on YouTubewww.youtube.com/watch?v=sboNwYmH3AY

Check before you run

  • No prompt here. We did not write one. The gist is the thing to paste.
  • Your notes stay yours: decide which sources you are happy to give an assistant.
  • Setup time: the video says about five minutes; the video itself is 17:46.
Tool 5 of 5
Your own TV home screen

A TV home screen

A video of Claude Code building a new home screen for a TV, step by step.
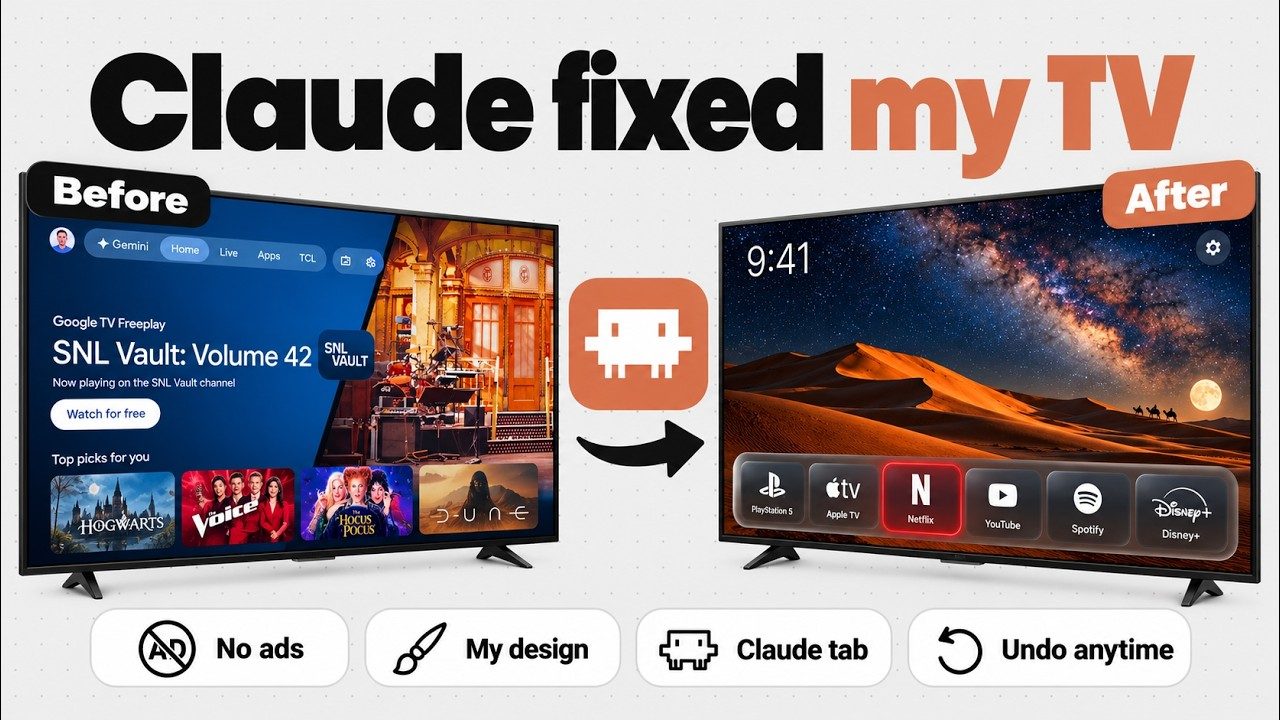
Video thumbnail: Claude fixed my TV, a TV before and after
“I Built My Own TV Operating System With Claude Code” by Lukas Margerie, YouTube. 528K views as of 17 Nov 2026.
“Claude Code took over my TCL Google TV over Wi-Fi and built a brand new home screen in a few prompts.”Lukas Margerie, in his video description
Watch on YouTubewww.youtube.com/watch?v=i0ytu6k8uac

Who it is for

Curious people who own a Google TV. The video shows one model, a TCL.

What it is
A video tutorial, not a project. No repo, and no prompt of ours.
Made by
Lukas Margerie
Popularity
528K views, as of 17 Nov 2026

What the video shows

Per his description: connecting Claude Code to the TV, building a custom home screen, redesigning it in MagicPath with layouts from Mobbin, adding animation with the Rive CLI, and pushing it back to the TV.

His chapters

Start here

  1. Watch the whole video oncebefore you touch your TV.
  2. Find these two chapters first:“How to turn on USB debugging safely” and “How to revert everything back to stock” (12:04). Both are in the creator's own list of what you will learn.
  3. Follow along on the same kind of TV he uses,a TCL Google TV, if you can. Our reading: the video shows one TV model, so other models may differ.

Check before you run

  • You are changing a real device. Know how to undo it before you start.
  • The video credits a setup prompt by Codila, a glow effect by Jerry, and an article by Nathan Clark. We do not copy them here.
  • Ads inside streaming apps: the video's description does not mention changing them.
Thank you

Thanks for commenting.

I found these five and read each one at its own page, so you do not have to start from nothing.

I have said which prompts are official and which are ours and untested. If a step here does not match what you see, trust the project's page.

Pick one and start there.

Elliott